KIDS TERRARIUM: HOW TO MAKE YOUR OWN AT HOME
Stuck for new isolation activities to do with the kids during the Coronavirus lockdown? Take a look at my a step by step guide on how to make a very simple terrarium using basic materials that can be found around the home and garden. No expense, super easy to make and fun for all!
CLICK HERE TO DOWNLOAD A PRINTABLE ACTIVITY SHEET
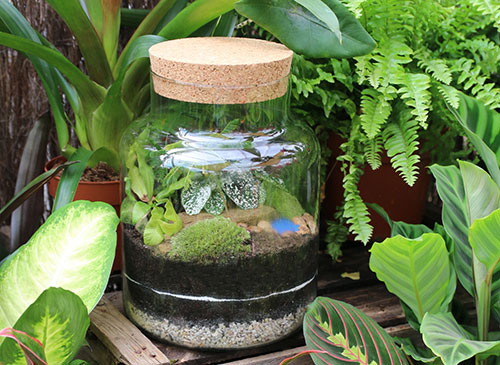
A terrarium is a miniature garden under glass featuring plants, moss and other decor. This almost entirely self sufficient ecosystem can be kept inside your home and provide an endless source of fascination and education for children of all ages. To make your own terrarium you will need to gather the following tools and materials, and set aside around 1 hour.
WANT TO WATCH A STEP BY STEP VIDEO? CLICK HERE TO VIEW ON IGTV
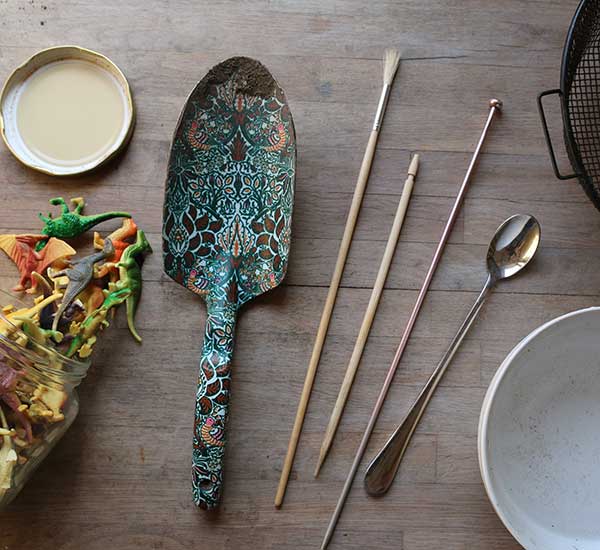
MATERIALS NEEDED:
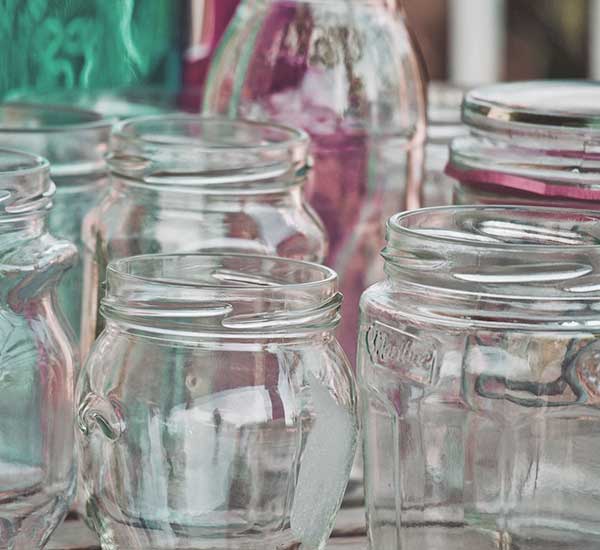
- 1 x glass jar or vessel with a clip top, screw top or cork top
- 1 x sheet of kitchen roll
- 2 x long utensils such as a knitting needle, long spoon, paintbrush, chopstick or similar
- 1 x sieve, preferably a garden sieve not the one you use for food!
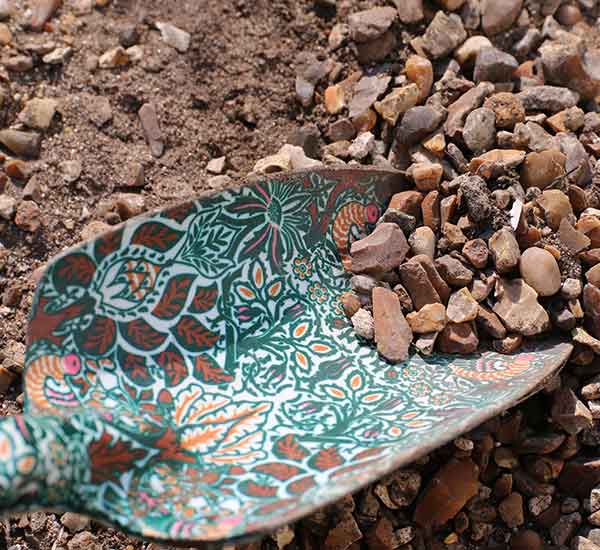
- 1 x small spade or trowel
- 1 x bowl of water (rainwater if possible)
- Soil from the garden
- Gravel from the garden
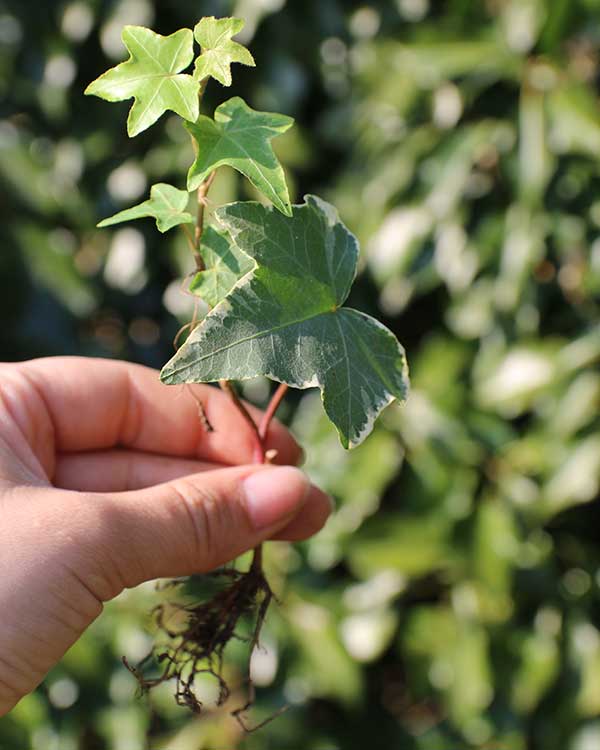
- Plants from the garden
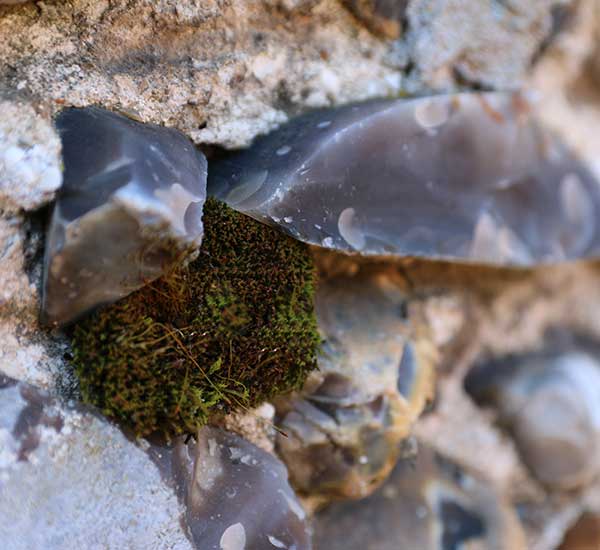
- Moss from the garden
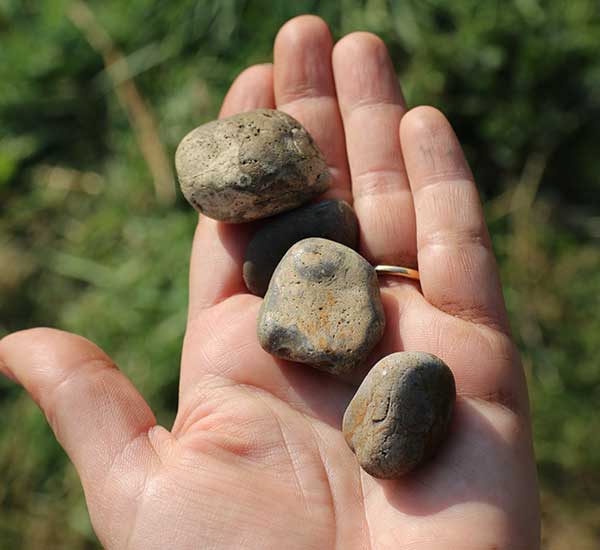
- Stones from the garden
- Decorative items such as a toy dinosaur or other animal, seashells, coloured glass pebbles etc.
STEP 1
Once you have chosen your glass jar or other vessel, give it a clean with water. Be sure not to use any cleaning agents or chemicals as this could harm the plants you put in your terrarium. Take your piece of kitchen roll, wipe off any excess water and then set the jar to one side.
EDUCATIONAL FACT: Terrariums were invented in the 1800’s by Nathanial Bagshaw Ward
STEP 2
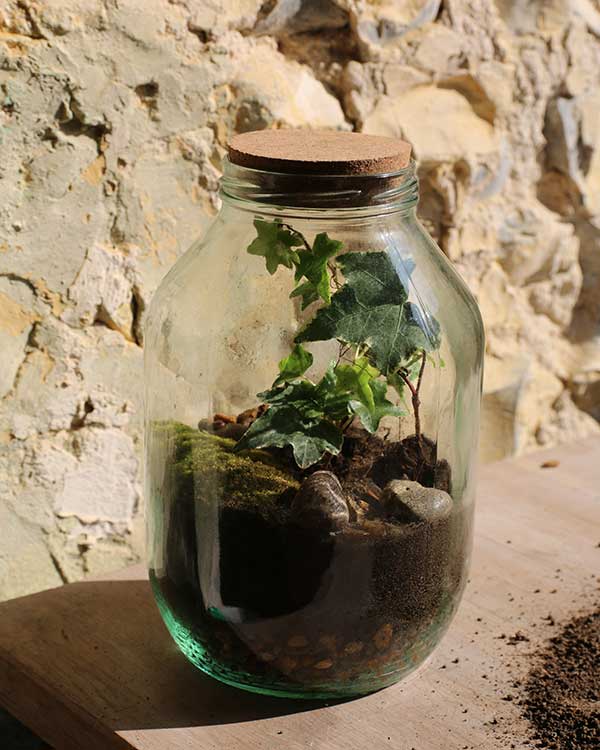
Next, head outside to collect together the materials you will need to put into your terrarium. Start with the gravel, which needs to be small ‘pea sized’ pieces of stone, the smaller the better! You need enough to put a small layer a the bottom of your glass jar, around 2cm – 4cm deep. Gather it all into the sieve, pick out any sticks, leaf or other items that should not be in there, then give it a thorough rinse with with a hose or under the tap and leave to dry.
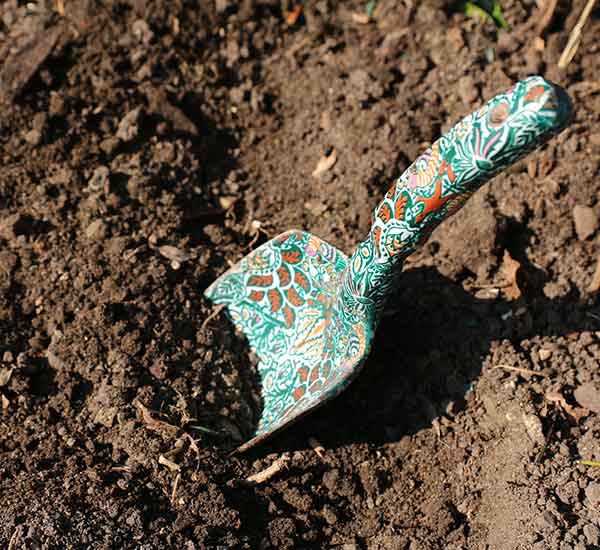
Now dig enough damp soil to fill around 1/3 of your jar and put into a container. As with the gravel, make sure you remove any stones, roots or other matter that are mixed in with the soil.
STEP 3
Get exploring your garden to find a suitable plant and extra items which you can use later to decorate your terrarium with, such as large pebbles, small sticks and moss. Look for a small plant which will fit into your chosen jar – plants that work particularly well are ivy and ferns, which are commonly found in gardens. Dig the plant up carefully, and pull it out with all the roots still attached.
Moss grows in dark, damp places and is found in most gardens, regardless of whether you live in the city or in the countryside. It loves brick walls, pavement edges, tiles and shady spots. When you have found a few small pieces of moss, pop them into the bowl of water and let them soak whilst you build the rest of the terrarium.
EDUCATIONAL FACT: Moss cleans the air better than trees!
STEP 4
Now you have collected everything you need to make your very own terrarium, find a spot to start creating your masterpiece! This bit is fun but can get quite messy, so if you have a spot outdoors that would be great, if not, a room with a sweepable floor is just as good.
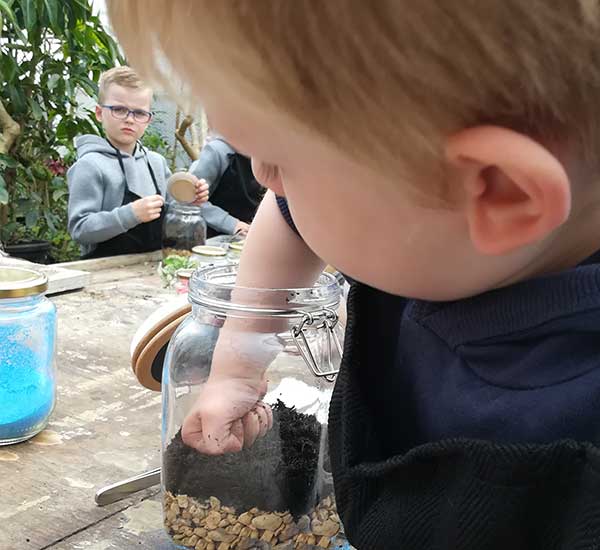
Start by gently putting your gravel in the bottom of your clean jar. Be careful not to smash the glass! It needs to cover the whole bottom surface and be around 2cm – 4cm deep. Level this out by using one of your long utensils and then add the soil. Slowly sprinkle the soil on top of the gravel until it reaches approximately just under halfway – check that you leave enough room for your plant to comfortably fit without hitting the lid!
EDUCATIONAL FACT: The gravel at the bottom of the terrarium creates a ‘false bottom’ which allows drainage for the plants in your terrarium, preventing root rot and other problems.
STEP 5
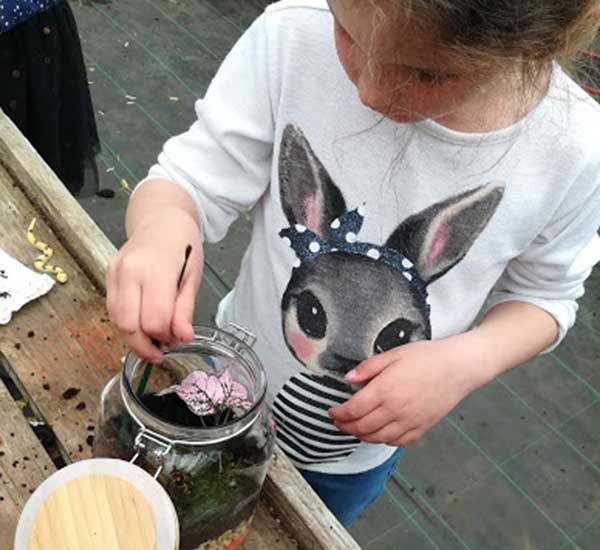
Make a hole around 1 inch deep in the centre of the soil using your long spoon, or other tool, and put your plant in roots first. Push the soil around the roots, ensuring they are all completely covered and secure your plant in place. Don’t worry if your plant looks a little wonky – once he has settled into his new environment he will straighten up.

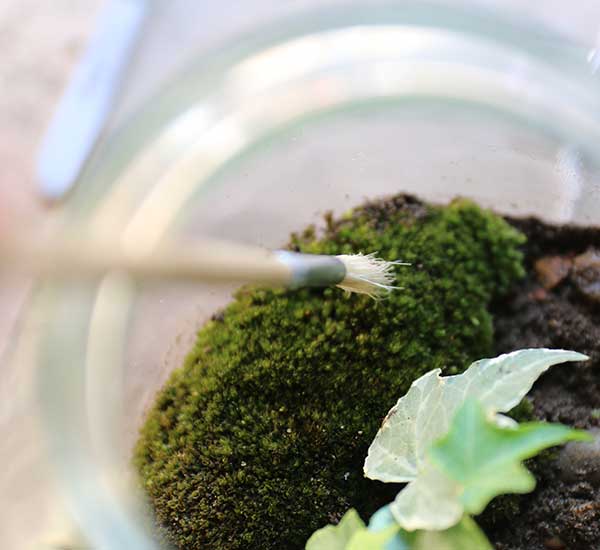
Next, grab your little blobs of moss which have been happily soaking in the bowl of water, squeeze them out like a sponge and lay them onto the soil in your terrarium. At this point you may want to use a paintbrush to brush down the inside glass walls of your jar as particles of soil and gravel may be stuck there, and if there is any dirt on your moss, give that a clean too!
Finally, add in stones, sticks or other decorative items such as a toy dinosaur to really bring your miniature garden to life. Once you are happy with everything inside, pop the lid on and find a place to display your work of art.
PLACEMENT
Be sure to house your terrarium in a spot which is nice and bright, but with no more than 2-3 hours of direct sunlight a day. A nice bright spot ensures that photosynthesis can happen and your plant will grow. Also avoid putting them close to a radiator, or near cold drafts – both of these things will kill the plants inside.
HOW TO CARE FOR YOUR TERRARIUM
Terrariums are very self sufficient, which means they need minimal care to thrive. Once your lid is closed, a process of evaporation begins inside. The water in the soil, gravel and moss evaporates and causes condensation to appear on the inside of the glass. This water then drips back down the glass walls, into the soil, re-watering the plants inside. Unless you notice your terrarium is looking particularly dry, there is no need to add any extra water at all. In this case, take the lid off and spray in more water (never pour water in as this could upset the roots of the plants).
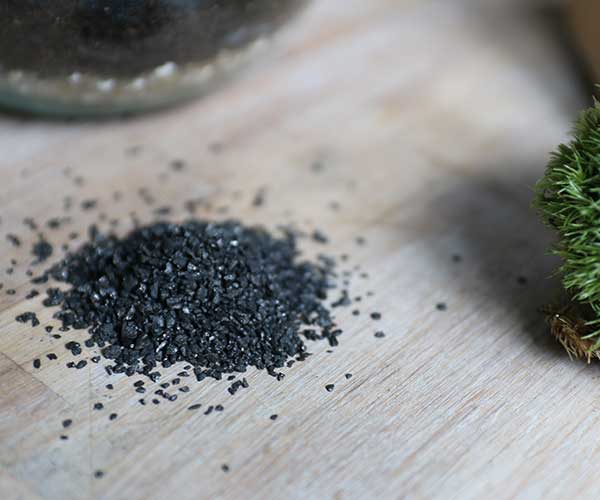
OPTIONAL EXTRAS
To make a more traditional terrarium which can last for years and years, it is essential to add in activated charcoal. This tutorial does not include it as it’s aimed at children and not easily found around the home (BBQ charcoal does not work in the same way). However, if you would like to buy some I sell it in small quantities – simply CLICK HERE to shop.